Showing posts with label etude 2. Show all posts

Saturday, 15 March 2008

Etude Two (2) - Technical Process Part 2


At this stage the I was concentrating on the texture created in combination with the lighting to achieve the desired look. Therefore I began to experiment with the Ambient Occlusion with Mental Ray engine rendering to create better renders. However at this stage the renders were appearing quite flat and the skin surface seemed chalk like in appearance, which is a property achieved through Ambient Occlusion and the rendering was taking rather long. Yet it does allow for shadow enhancements in compositing for multiple passes but I was also yet to use specular or bump maps to improve the model's texture.


Above images show a render using the checker map with a Skylight and Light Tracer render within Max and a specular map I later created below that. The skylight render was an improved result over the Ambient Occlusion render in my opinion. However the specular map didn't create the desired effect when applied and rendered and the glossiness on the lips wasn't as defined which meant I would either have to seperate the lips from the rest of the UV map or find a way to seperate their properties in the material editor as when rendered the face was quite shiny and the lips did not have the desired level of specular detail that I wanted.


The above image is a result of the edited texture with a customised specular map which was achieve by using a multilayer shader in the material editor and applying two seperate specular maps into different channels. A metal like shader was applied to the lips and a seperate one for the rest of the face and eyebrows. However with the skylight render the material appeared lighter than normal with the highlight line on the lip also appearing more contrasted against the skin than I anticipated and therefore required editing. Fortunately Max monitors the updating of the texture's image file, which made editing easier, therefore I made many edits to the texture file to try and get the texture to the desired skin tone. (below)


My main concern at this point was to highlight the model's features and attempt to match the original concept as well as enhance it. I then decided to sample colours from the original concept and edit them to delicately enhance the features of the model and accentuate areas such as the cheeks and eye area.


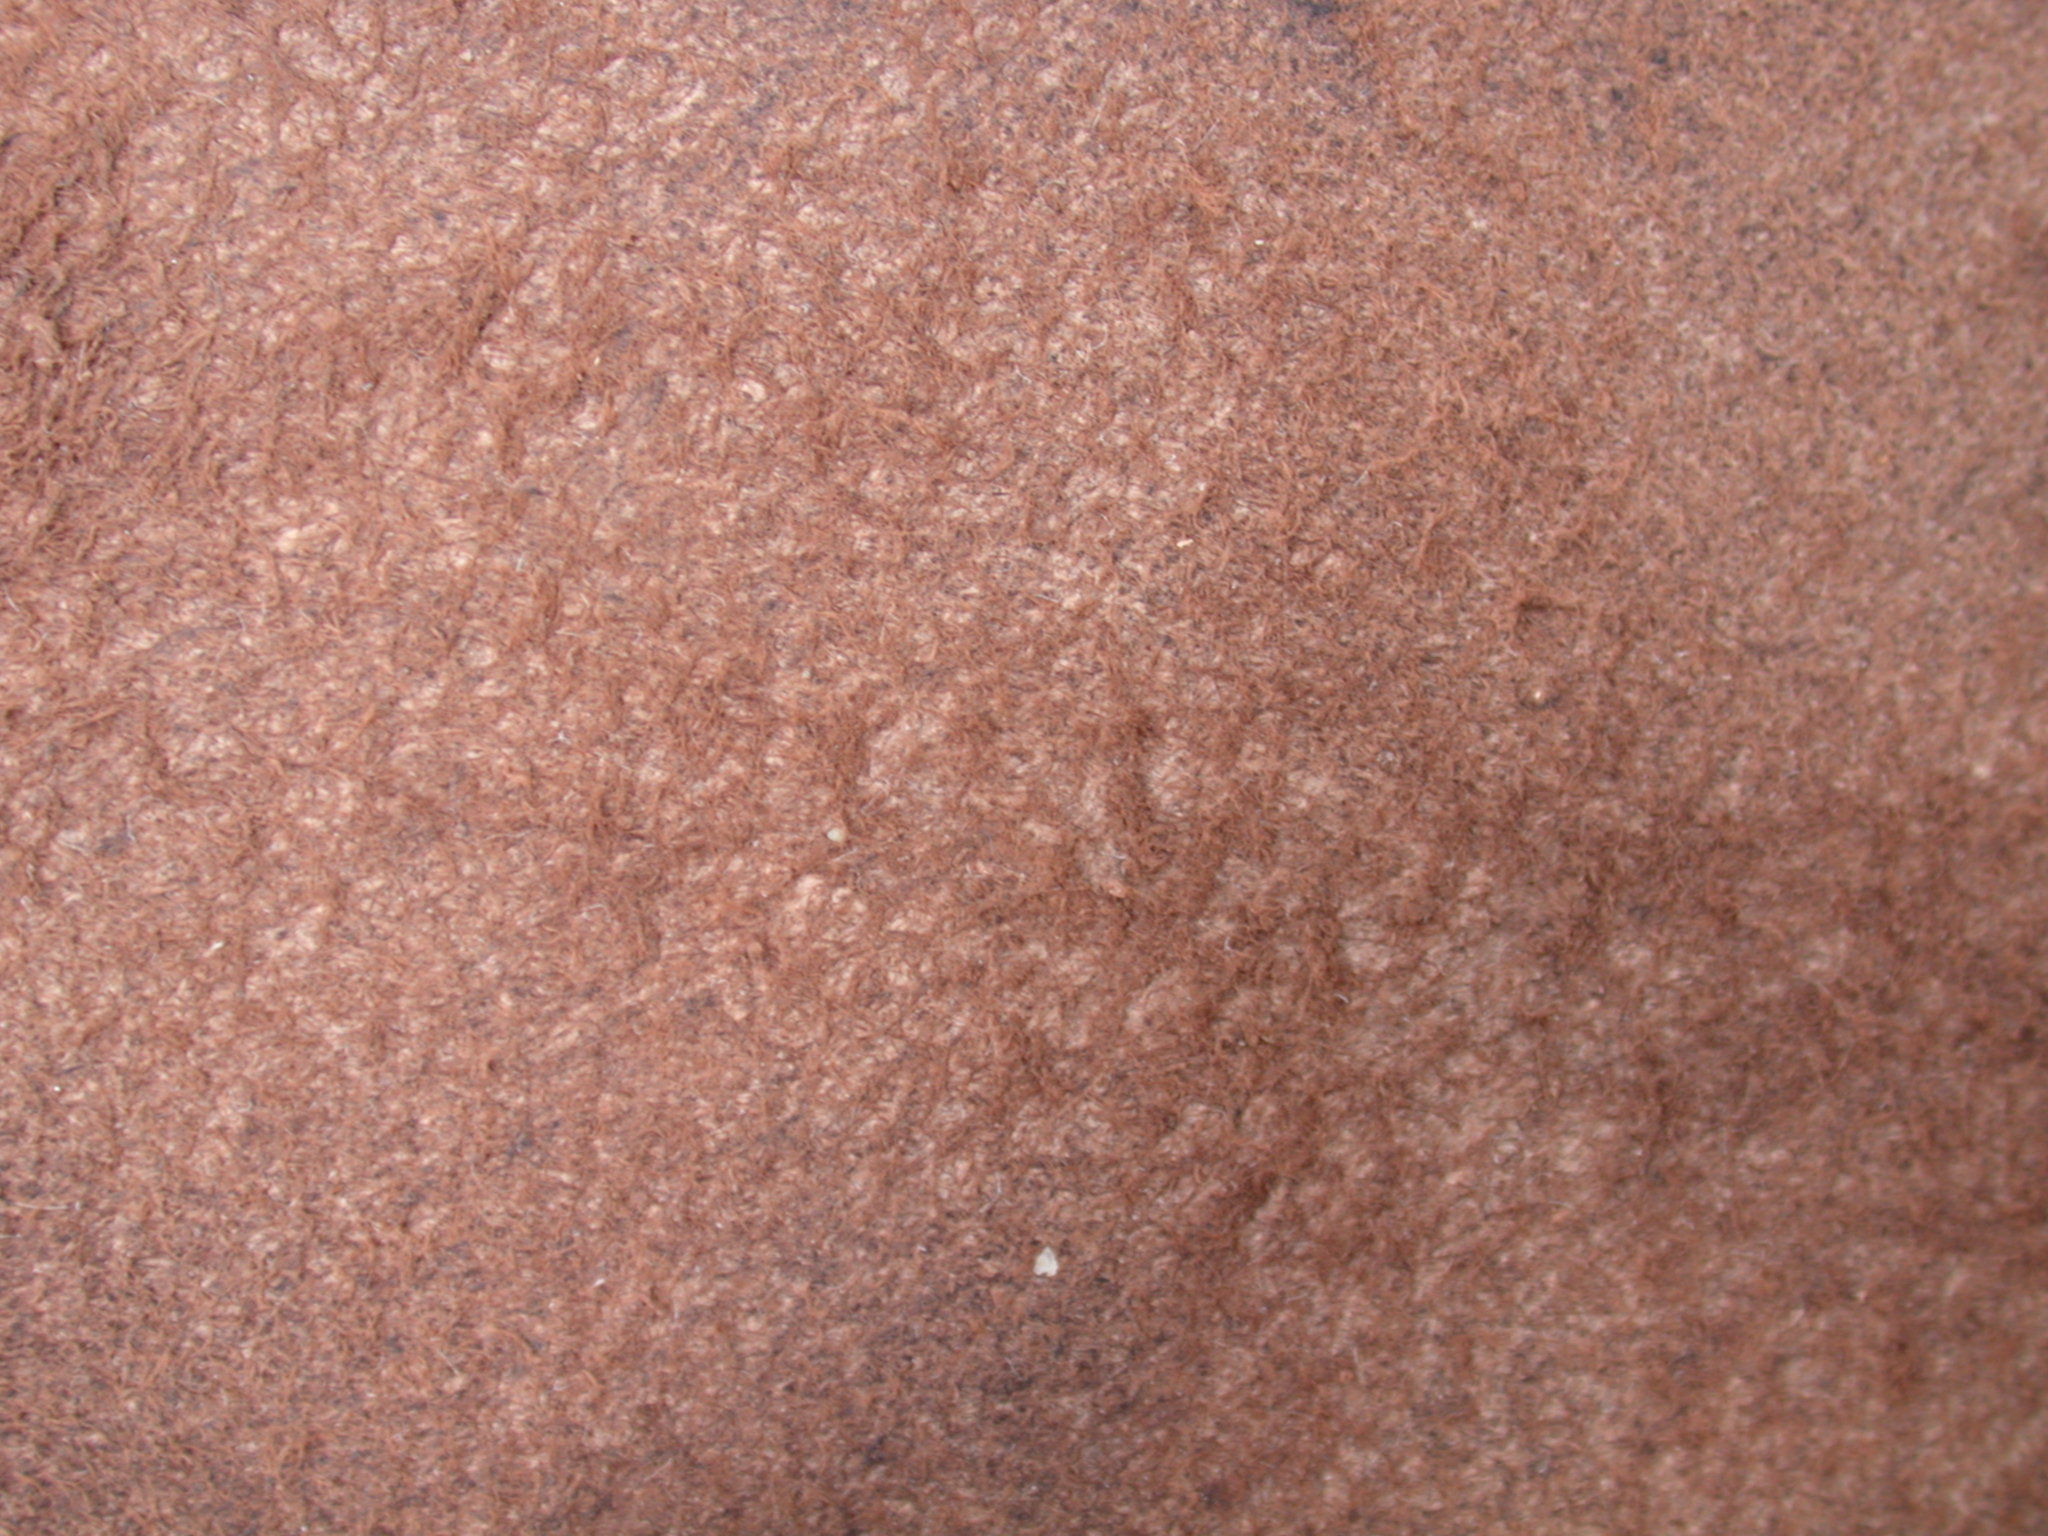
In addition I used the texture image below to help break up/randomise the texture's surface.


Above image available at: http://imageafter.com/image.php?image=b6leather_skin006.jpg
[cited: 14th March2008]


Below is the final map used with unwrapped UV on top of it.


Evaluation

I am relatively pleased with the final result and I am glad that I am now educated in how to use different elements to create a texture as well as how to light it to get the desired result. For later study I would like to experiment more with three point lighting to further improve my renders of the final piece. This may be an area for another study but I am satisfied with the result and the use of combined elements and references to help achieve this. I believe that the study was a success as I feel that the final piece is close to the original concept and that the process demonstrates a number of combined disciplines in several formats to achieve a final 3D product hence being a hybrid of creative practice.

Additional Technical References:

http://poopinmymouth.com/tutorial/normal_workflow.htm

Demers, O. 2001, "Digital Texturing and Painting" 2nd ed. New Riders Press

http://www.game-artist.net/forums/vbarticles.php?do=article&articleid=37

http://reality.artificialstudios.com/twiki/bin/view/Main/StaticShadowMapping

[accessed: 12th March 2008]

Friday, 14 March 2008

Etude Two (2) - Technical Process Part 1

To create the map I am required to make my model ready for mapping by essentially converting it into a 2D format for customising. To achieve this I utilised the UV unwrap modifier in 3DS Max which allows me to unwrap the head model into segments for exporting. This process involved flattening out the unwrapped 3d mesh so that all the polygons were clearly laid out for editing.


The above image shows the 3d model with a checker material map applied to it that will help establish areas of distortion to rectify. In addition at this stage I must establish areas where the mesh model will be split i.e. seams.


Above image shows the model's mesh unwrapped and spread out in the UV editor. It's within the editor that I flattened or "relaxed"areas of the mesh to help prevent overlapping polygons exposing all of them so they are visible for painting over. Such areas include the eyes, lips and nose but I needed to keep the "relaxing" of polygons to a minimum as it would apparently cause material stretching.


The image above shows a exported render of the unwrapped UV I completed. For the process I utilised the plug-in Textporter from Maxplugins.de. This plug-in helped me to export the UV map as a black and white image so that I could use the alpha properties to help create a texture map beneath the wireframe. The above image is a rough normal map render created using the plug-in and although relatively useless the normal map render will help to establish the form of the model and thus help me to establish the form of the model in its 2D format.

Textporter available at: www.maxplugins.de/


For this process I used multiple references which were relatively vague or assumed the user had the ability to unwrap the model and were mostly work flow tutorials. Therefore I had to guess and experiment quite a bit for the desired effect. The above image is a test texture I made to establish how accurate the texture I made is when applied to the model.


Above image shows the previous texture applied to the model. At this point I proceeded in creating a texture in Photoshop using multiple references including my own skin. I didn't wish to create a texture that was too complex and over textured but I did wish to include subtle details that will enhance the appearance of the model. Therefore I included freckles and other subtle textures that helped to break up the materials colour.


Above image available from: http://web.cornell.edu/studentblogs/jenna/wp-content/uploads/2007/02/freckles.jpg
[cited: 12th March 2008]


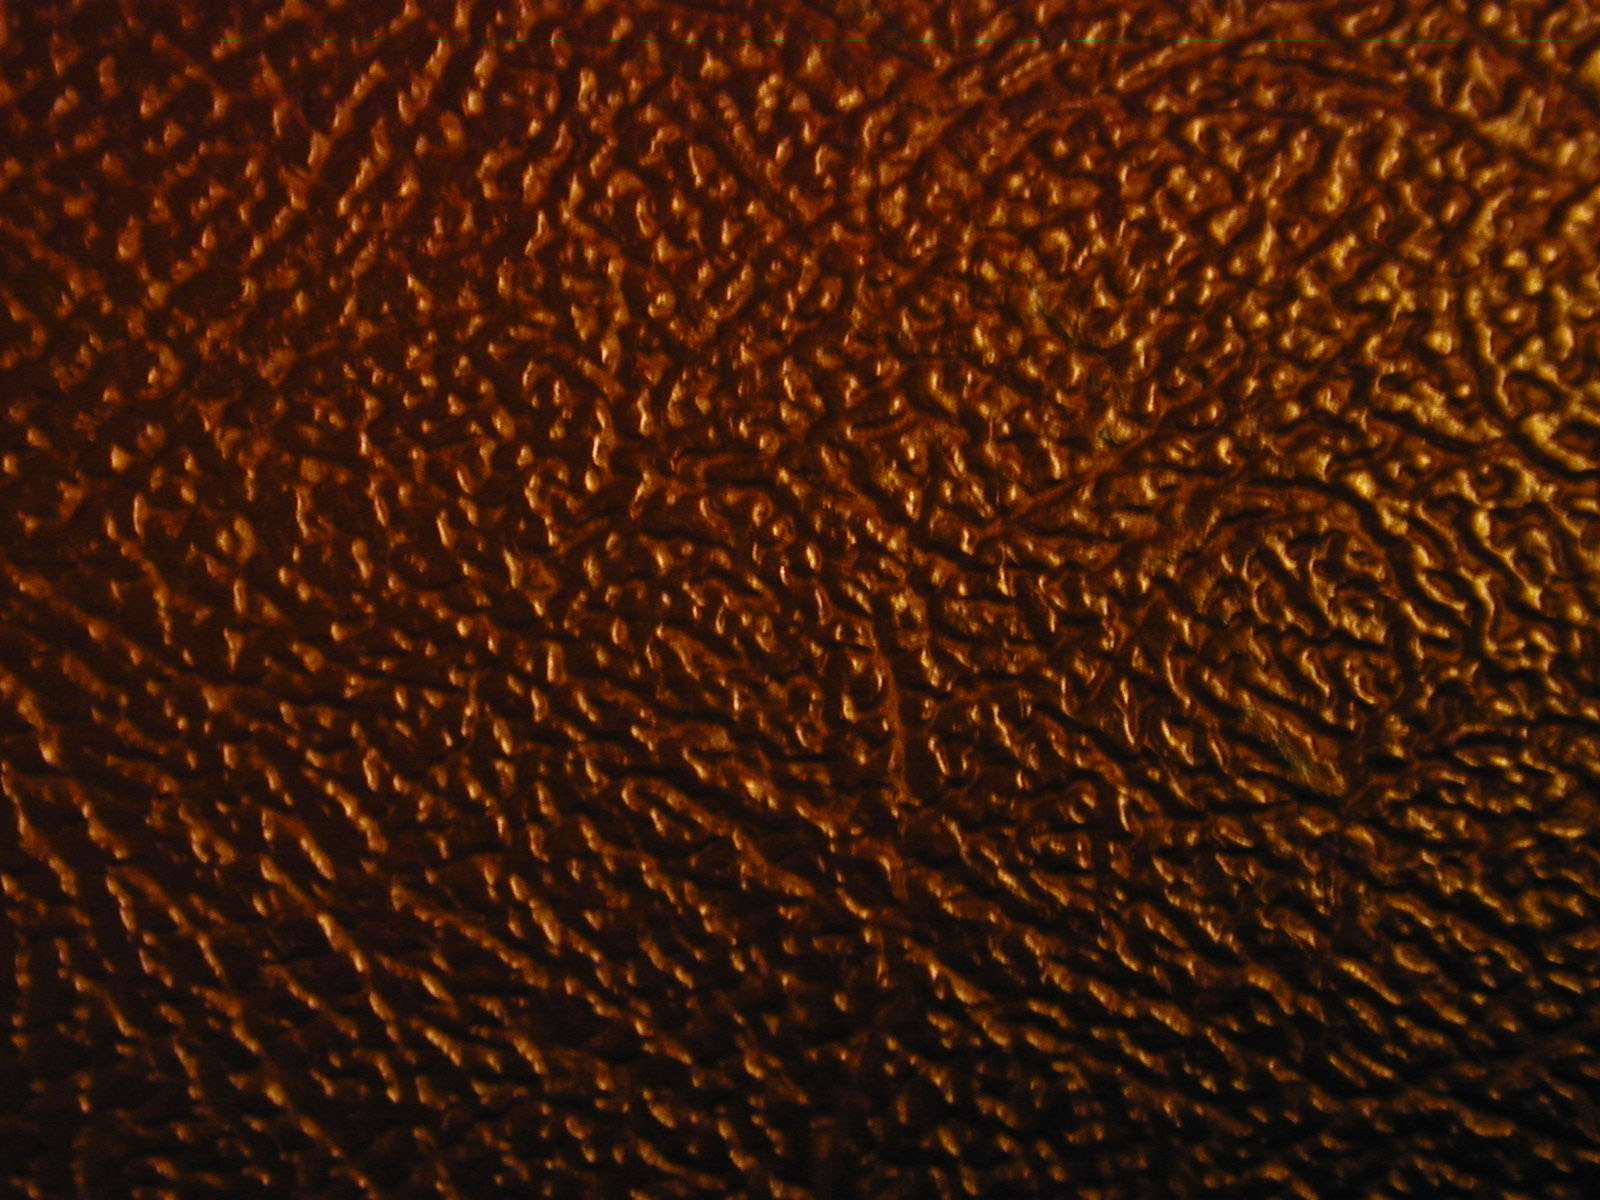
Above image was used to help break up the texture created,
available at:
http://www.imageafter.com/dbase/textures/leather_skin/b1leather001.jpg
[cited:
12th March 2008]


The above image is an example of the initial texture I created with some integrated texture details e.g. freckles. Photography played a key role in my image referencing with the lips and cheek area receiving the most attention. The image below is an example of the photos analysed for reference and would serve future reference for the model's specular level details i.e. light properties.


Above image available at: http://tn3-2.deviantart.com/fs9/300W/i/2006/056/2/6/lips_by_XtenajX.jpg
[cited: 12th March 2008]


Sunday, 9 March 2008

Etude Two (2) - Analysis and Developing Elements

Real world references are a major influence in the texturing process and although it may be presented in a 2D format i.e. images, it is essentially analysed for 3D purposes which is why lighting awareness and techniques are incorporated into the process. By extracting elements from the real world artists are able to synthesise convincing media for use in their artwork. This is a key skill which in itself is a hybrid of multiple forms i.e. the analysis of the properties of textures and surfaces and the manner in which it reacts to light. This itself is a skill that requires analysis in the 3D sense much like a sculptor. Therefore these are factors to consider when creating my materials.

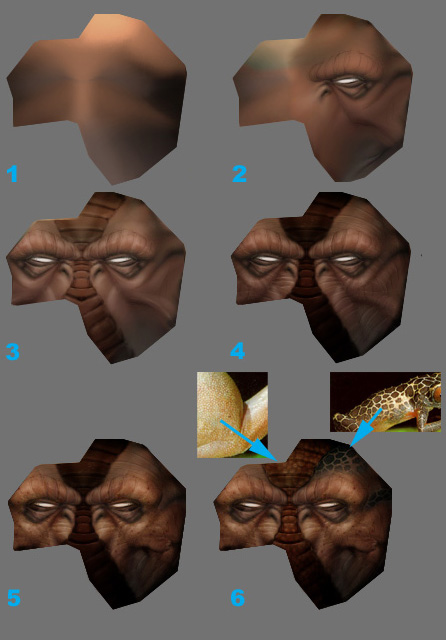
Below is an example of a work flow in creating a texture for a 3D model. Skin textures are taken from wildlife photographs to help add detail to the model's texture and is essentially a hybrid of a custom palette and real world elements to be applied onto a 3D model.


Above Image available at: http://www.bobotheseal.com/Skinning_mini-tutorial_01.htm [accessed 9th March 2008]

Material 'shaders' are a key element in most 3D programs and generally dictate the lighting and rendering properties of a texture and deserves careful attention. For my face texture I need to customise or acquire a good skin shader that will carry realistic properties of skin this will be aided by multiple maps assigned for different properties e.g. specular and bump levels. Ben Cloward is an example of an artist that has aided in this customisation process as he has designed and created a small set of shaders for use within 3DS Max for such key texture surfaces as skin that I may consider using to enhance the texture I will create.

References:

Available at:

http://www.bencloward.com/shaders_skin.shtml
http://www.autodesk.co.uk/adsk/servlet/index?siteID=452932&id=9898976

[accessed: 9th March 2008]

Key Points

As my character model is of a young girl there are certain artistic factors to consider when creating the texture.In addition as she is young the signs of age would be less apparent or just absent i.e. wrinkles and skin discolouring. Therefore the texturing process will be focused on accentuating the facial features to enhance a youthful look (much like make up). Also my original concept is intended to be generally cartoon like but with some real world references so I will be using a slightly off palette selection of colours instead of a more realistic skin palette.

Wednesday, 5 March 2008

Etude Two (2) - The Concept

In this etude I will be practising texturing techniques on the head model created in the 1st etude as well as simple geometric shapes that will be slightly edited e.g. eyeballs, small metal objects, tables etc.


Techniques I'm aware of include normal and displacement mapping as well as other software that aids in creating more detailed surfaces on models such as Z brush or Mudbox. However I will utilise custom mapping purely within 3DS Max and Photoshop to create the desired effect with focus on visually enhancing the head model and eyes.

Below is an example of an unwrapped model that has been textured in several formats to enhance details once reapplied.


Above image - Available at:http://www.cgarena.com/freestuff/tutorials/zbrush/wolverine/image037.jpg
[accessed 4 March 2008]

A key element of texturing is to recreate real world elements in 3D or enhance the realism of a 3D piece. This essential technique in 3D art is fundamentally a hybrid of design elements, for example the taking of photographs of a wall and applying it to a 3d model of a wall which can be further enhanced in its realism with correct lighting and additional texture enhancements e.g. displacement and bump maps.

In 3DS Max there is also a plugin available called Deep UV which is supposed to aid in the texturing process, therefore I may explore the use of this in my texturing process.

Technique Evaluation

Although techniques such as Normal mapping are very important in modelling its key area is gaming and the simulating of a high res model on a low polygon model, which is achieved through careful material map editing that will be used to manipulate the manner in which light reacts to the models surface. A good technique but ultimately not required for my piece as I aiming to create a simple 3D character model that is close to the original concept in 3D and doesn't require too much intricate details which normal mapping could provide. Displacement mapping may be more of use which is essentially the same as normal mapping but serves the purpose of creating greater detail on an already detailed model i.e. similar to a bump map which creates the illusion of depth e.g. spots and lumps.

References:

Ahern, L., 2006. "3D Game Textures: Create Professional Game Art Using Photoshop". Focal Press Publishing

http://www.mudbox3d.com [accessed 4 March 2008]

http://www.pixologic.com/ [accessed 4 March 2008]

Tuesday, 4 March 2008

Etude Two (2) - Introduction


Etude Title:


Texturing: a hybrid of elements

For the 2nd etude I have decided to explore the areas around texturing in 3D. This is a natural creative progression from my first etude. Fundamentally texturing techniques are a key creative skill I have yet to learn. During this etude I hope to create a piece that further demonstrates the hybrid of real world images and a 3D model/artwork. For the etude I will be using 3DS Max and Photoshop to create texture and apply it to a model. During this etude I expect to primarily focus on the use of UV unwrapping to create detailed and essentially accurately placed textures on a 3D model using real world references to help achieve an accurate depiction of my original concept. Lighting techniques will be and essential factor during this process. This will further improve my skills as an artist and help develop my multimedia talents to help mix real world and design elements with 3D.