
The above image shows the 3d model with a checker material map applied to it that will help establish areas of distortion to rectify. In addition at this stage I must establish areas where the mesh model will be split i.e. seams.

Above image shows the model's mesh unwrapped and spread out in the UV editor. It's within the editor that I flattened or "relaxed"areas of the mesh to help prevent overlapping polygons exposing all of them so they are visible for painting over. Such areas include the eyes, lips and nose but I needed to keep the "relaxing" of polygons to a minimum as it would apparently cause material stretching.

Textporter available at: www.maxplugins.de/

For this process I used multiple references which were relatively vague or assumed the user had the ability to unwrap the model and were mostly work flow tutorials. Therefore I had to guess and experiment quite a bit for the desired effect. The above image is a test texture I made to establish how accurate the texture I made is when applied to the model.

Above image shows the previous texture applied to the model. At this point I proceeded in creating a texture in Photoshop using multiple references including my own skin. I didn't wish to create a texture that was too complex and over textured but I did wish to include subtle details that will enhance the appearance of the model. Therefore I included freckles and other subtle textures that helped to break up the materials colour.


Above image available from: http://web.cornell.edu/studentblogs/jenna/wp-content/uploads/2007/02/freckles.jpg
[cited: 12th March 2008]
[cited: 12th March 2008]
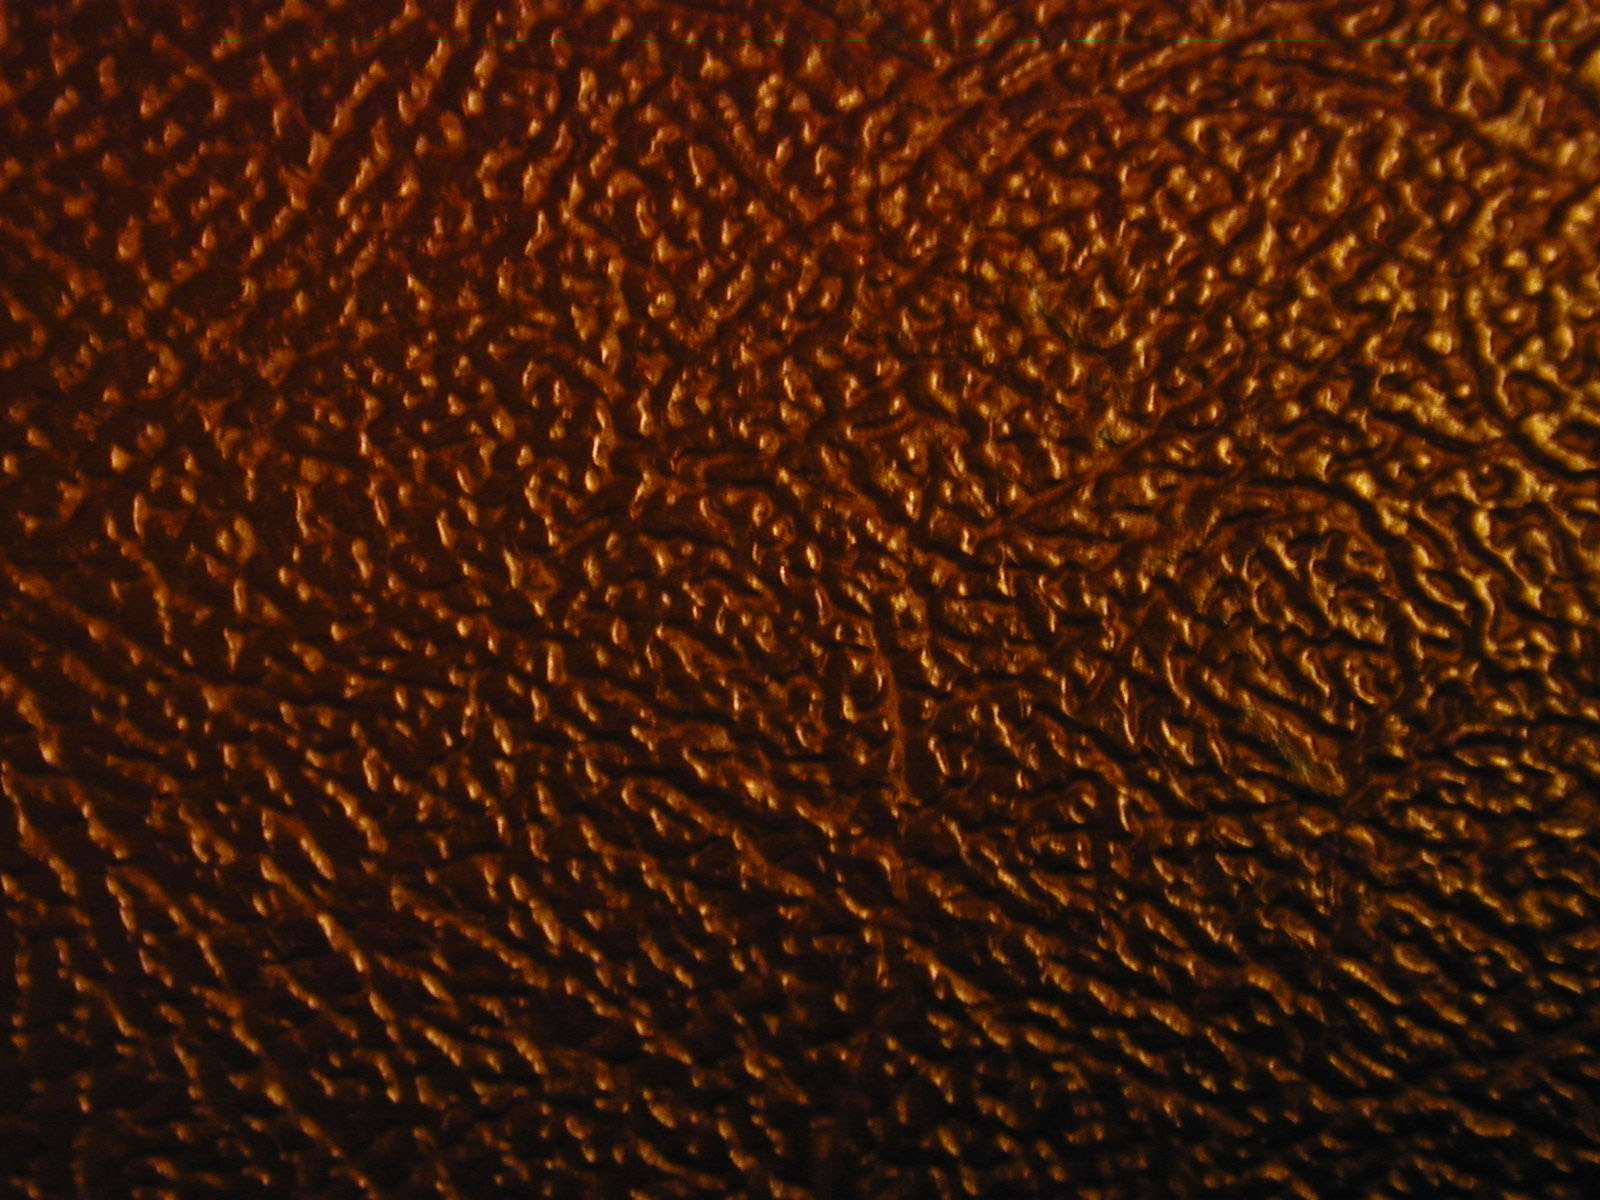
Above image was used to help break up the texture created,
available at:
http://www.imageafter.com/dbase/textures/leather_skin/b1leather001.jpg
[cited: 12th March 2008]

[cited: 12th March 2008]

The above image is an example of the initial texture I created with some integrated texture details e.g. freckles. Photography played a key role in my image referencing with the lips and cheek area receiving the most attention. The image below is an example of the photos analysed for reference and would serve future reference for the model's specular level details i.e. light properties.

Above image available at: http://tn3-2.deviantart.com/fs9/300W/i/2006/056/2/6/lips_by_XtenajX.jpg
[cited: 12th March 2008]
[cited: 12th March 2008]
No comments:
Post a Comment