


Above images show a render using the checker map with a Skylight and Light Tracer render within Max and a specular map I later created below that. The skylight render was an improved result over the Ambient Occlusion render in my opinion. However the specular map didn't create the desired effect when applied and rendered and the glossiness on the lips wasn't as defined which meant I would either have to seperate the lips from the rest of the UV map or find a way to seperate their properties in the material editor as when rendered the face was quite shiny and the lips did not have the desired level of specular detail that I wanted.


The above image is a result of the edited texture with a customised specular map which was achieve by using a multilayer shader in the material editor and applying two seperate specular maps into different channels. A metal like shader was applied to the lips and a seperate one for the rest of the face and eyebrows. However with the skylight render the material appeared lighter than normal with the highlight line on the lip also appearing more contrasted against the skin than I anticipated and therefore required editing. Fortunately Max monitors the updating of the texture's image file, which made editing easier, therefore I made many edits to the texture file to try and get the texture to the desired skin tone. (below)


My main concern at this point was to highlight the model's features and attempt to match the original concept as well as enhance it. I then decided to sample colours from the original concept and edit them to delicately enhance the features of the model and accentuate areas such as the cheeks and eye area.


In addition I used the texture image below to help break up/randomise the texture's surface.
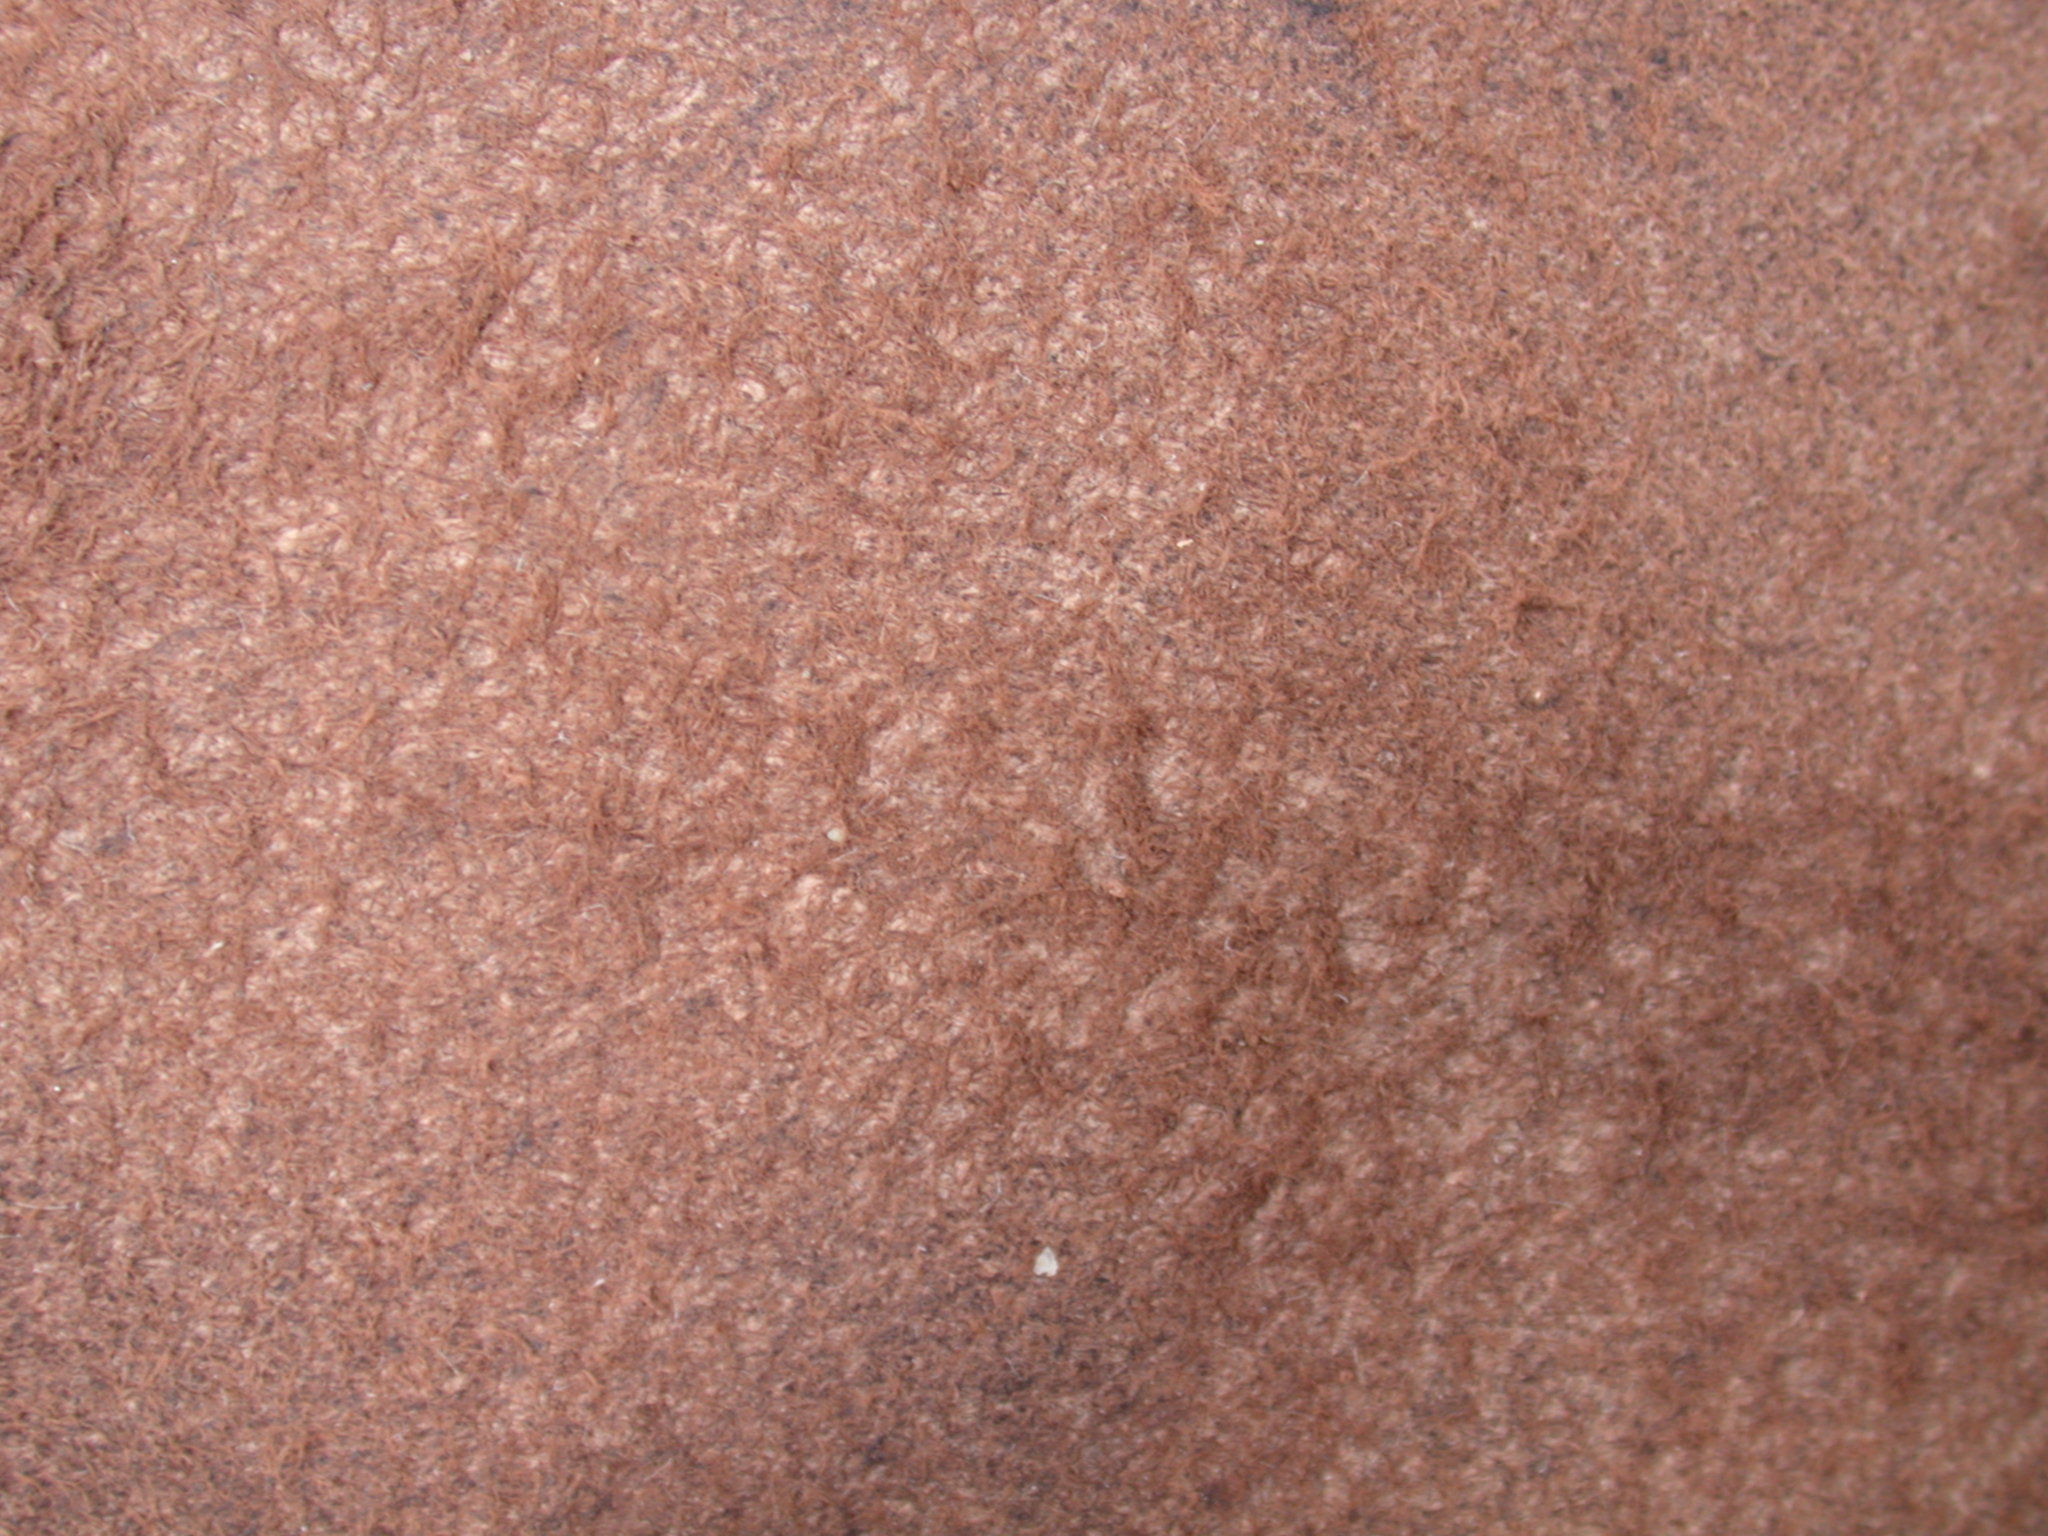
Above image available at: http://imageafter.com/image.php?image=b6leather_skin006.jpg
[cited: 14th March2008]
Below is the final map used with unwrapped UV on top of it.

Evaluation
I am relatively pleased with the final result and I am glad that I am now educated in how to use different elements to create a texture as well as how to light it to get the desired result. For later study I would like to experiment more with three point lighting to further improve my renders of the final piece. This may be an area for another study but I am satisfied with the result and the use of combined elements and references to help achieve this. I believe that the study was a success as I feel that the final piece is close to the original concept and that the process demonstrates a number of combined disciplines in several formats to achieve a final 3D product hence being a hybrid of creative practice.
Additional Technical References:
http://poopinmymouth.com/tutorial/normal_workflow.htm
Demers, O. 2001, "Digital Texturing and Painting" 2nd ed. New Riders Press
http://www.game-artist.net/forums/vbarticles.php?do=article&articleid=37
http://reality.artificialstudios.com/twiki/bin/view/Main/StaticShadowMapping
[accessed: 12th March 2008]
No comments:
Post a Comment